How to Brief a Graphic Designer: The Complete Guide for Australian Marketers
There is a reason so many graphic design projects go through endless revision rounds and still end up producing something that nobody is really happy with. It is almost never the designer's fault. It is almost always the brief.
A vague brief — 'make it pop', 'keep it modern', 'something clean and professional' — forces a designer to make assumptions about your brand, your audience, and your goals. When those assumptions do not match your mental image, you end up with work that technically fulfils the brief but does not deliver what you actually needed.
A great brief saves time, reduces frustration, and produces better design. This guide teaches you exactly how to write one — with the structure, the content, and the examples that get results.
Why the Brief Is the Most Important Document in Any Design Project?
Professional graphic designers are experts in visual communication. They are not mind readers. Every assumption they make when the brief is unclear creates a risk of diverging from your expectation. The more clearly you communicate your goals, your audience, your constraints, and your preferences upfront, the less time is wasted in revision rounds.
The brief is also a thinking exercise for you. Writing a thorough brief forces you to get clear on what you actually need and why — before a single design is produced. The clarity you develop during the briefing process almost always produces better outcomes than jumping straight into design.
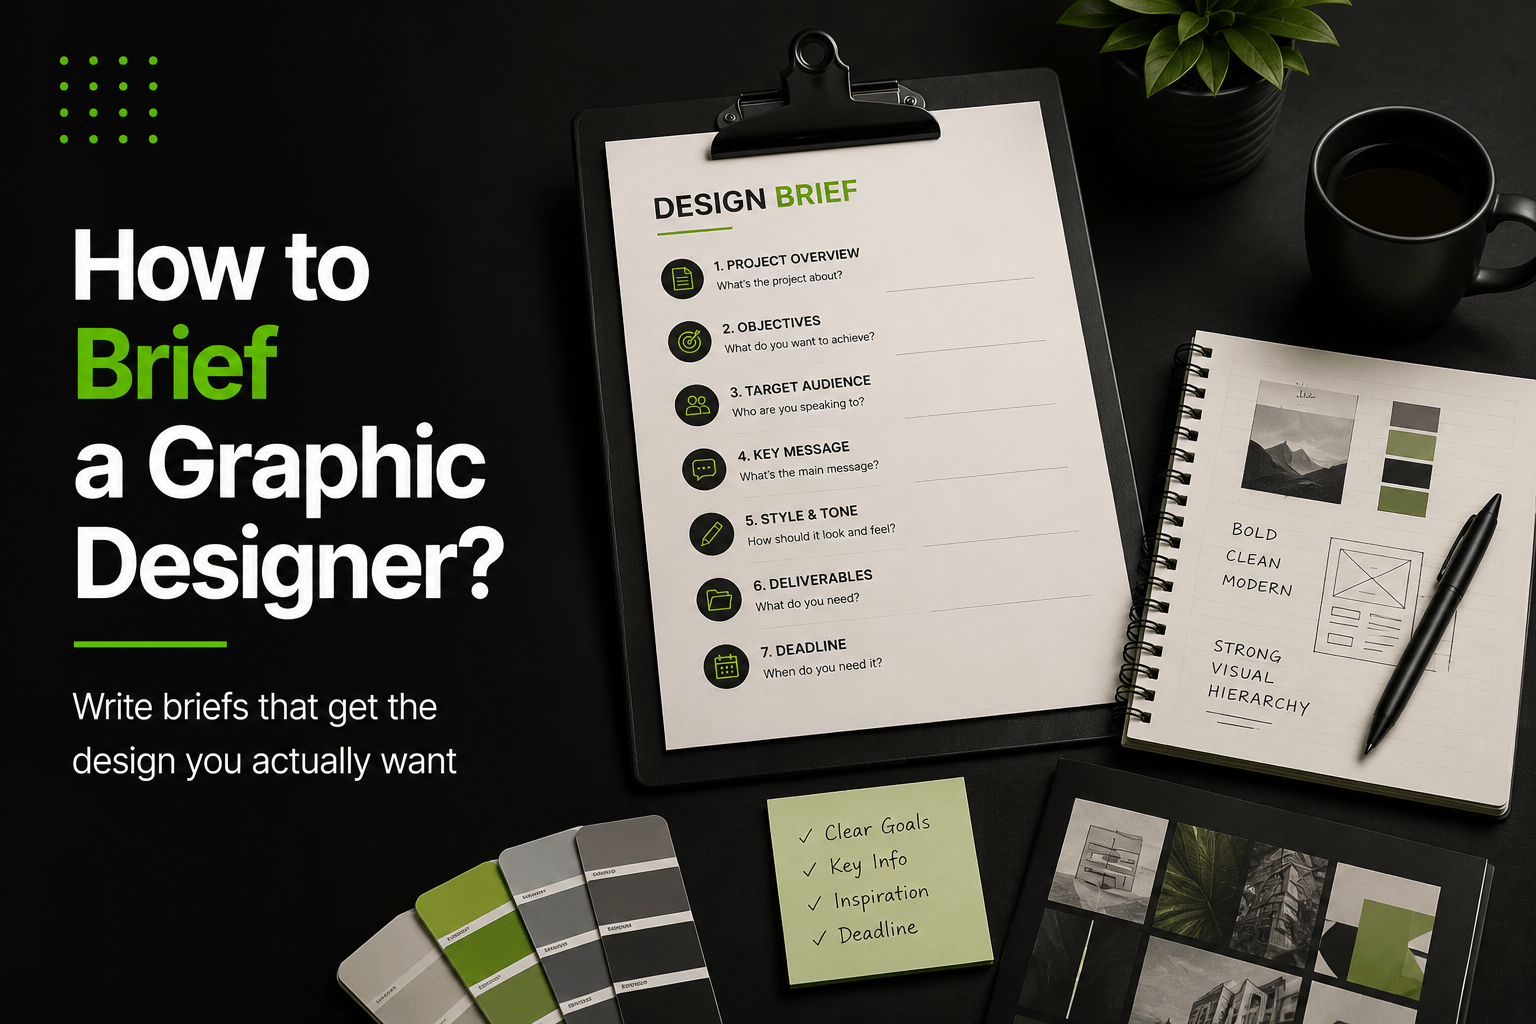
The 10-Part Graphic Design Brief Structure
1. Project Overview
Start with a plain-English summary of the project. What are you designing? Why now? What does success look like? This section should take no more than one paragraph but should give your designer an immediate understanding of the scope and context of the work.
Example:
'We are launching a new range of organic skincare products targeting Australian women aged 28 to 45. We need packaging design for 8 products, a product brochure, and social media launch graphics. The brand is being repositioned from pharmacy-shelf to premium boutique retail.'
2. Company and Brand Background
Give your designer context about your business. What do you do, who do you serve, and how do you position yourself in the market? Include your existing brand guidelines if you have them, examples of your current brand assets, and any relevant background on your brand history. For a rebrand, include what is changing and why.
3. Target Audience
This is one of the most underspecified sections in most briefs — and one of the most important. Your designer needs to understand who the design is for. Include age range and demographics, values and lifestyle, where they typically encounter your brand, and what design styles typically appeal to them. The more specific your audience description, the more targeted the design solution.
Weak audience description: 'Australian professionals aged 25 to 55'
Strong audience description: 'Female business owners and senior managers aged 30 to 48, based in Australian capitals, with $80,000+ household income. They value quality, sustainability, and time efficiency. They read The Guardian and Broadsheet, shop at Seed Heritage and Aesop, and are sceptical of aggressive sales messaging.'
4. Project Objectives
What specific outcome should this design achieve? Not 'make us look professional' — but a measurable or observable goal. Drive enquiries from the brochure. Increase product shelf presence. Generate social media shares from the launch graphics. Having a clear objective gives your designer a success criterion to design towards.
5. Deliverables and Specifications
List every individual item you need designed, with its technical specifications. This section prevents scope creep and ensures both parties are aligned on what is included in the project.
- Specify: quantity of each item, dimensions, format (print vs digital), file types required
- For print: include print specifications — paper stock, finish, bleed, trim size
- For digital: include pixel dimensions, file format (PNG, JPG, SVG), colour mode (RGB)
- For social media: specify which platforms and the required dimensions for each
💡 Never leave deliverables vague. 'A set of social media graphics' could mean 5 images or 50. 'A brochure' could be a single A4 sheet or a 16-page catalogue. Specificity protects both you and your designer.
6. Design Direction and Style
This is where you describe the visual direction you want — but in a way that is useful to a designer, not just a list of adjectives. The most effective way to communicate visual direction is with references.
How to Use Visual References?
- Collect 5 to 10 examples of design you love — from competitors, from other industries, from the internet.
- For each reference, specify WHY you like it: the colour, the typography, the composition, the mood.
- Collect 2 to 3 examples of design you dislike — and explain why they would not work for your brand.
- Use platforms like Pinterest, Behance, or Dribbble to curate a reference board your designer can access.
⚠️ Saying 'make it look like Apple's design' without context gives your designer nothing useful. Saying 'I like the clean white space and the product-forward photography in Apple's marketing — I want a similar sense of premium simplicity' is actionable.
7. Brand Guidelines and Constraints
If you have existing brand guidelines, attach them. If not, document the constraints: approved colours with HEX codes, approved fonts, logo usage rules, anything that cannot be changed. Be explicit about what is mandatory versus what is flexible. If your brand colour is non-negotiable, say so. If you are open to a new direction, say that too.
8. Budget and Timeline
Be transparent about your budget and your deadline. Hiding your budget wastes everyone's time — a designer producing concepts for a $2,000 project thinks differently than one producing for a $10,000 project. Sharing your budget upfront lets the designer scope the work appropriately.
For deadlines, provide the actual date you need the final files. If there is an event, print deadline, or publication date driving the timeline, include it. Build revision rounds into your timeline — most professional design projects involve at least 2 rounds of revisions between concept and final delivery.
9. Approval Process
Tell your designer who will be approving the work and how many people are involved. A brief that goes through one decision-maker is completely different from one that needs sign-off from a marketing manager, a CEO, and an external stakeholder. The more approvers, the more revision rounds you should budget for — and the designer's timeline and pricing should reflect this.
10. Examples of What You Do Not Want
This is the most underused section of a design brief and one of the most valuable. Showing a designer three examples of design you specifically do not want — and explaining why — eliminates a whole category of concepts before they are produced. It is faster and clearer than trying to articulate in words what you want to avoid.

Common Design Brief Mistakes Australian Marketers Make
Frequently Asked Questions
Q. How long should a graphic design brief be?
A good design brief for a small to medium project should be 1 to 3 pages. Larger, more complex projects — full brand identity systems, packaging ranges, campaign design — may warrant 4 to 6 pages. The goal is comprehensive enough that your designer can answer their own questions, but focused enough that it does not overwhelm with irrelevant detail. Always prioritise clarity over length.
Q. Do I need to know what I want before briefing a designer?
You need to know what problem you are trying to solve and who you are solving it for. You do not need to know what the design solution looks like — that is the designer's job. The best briefs define the outcome and the constraints, not the solution. If you already know exactly what you want, you are limiting the designer's ability to apply their expertise and may produce a weaker result.
Q. What happens if the design does not match my brief?
If the brief was clear and the design does not match it, raise this specifically in your feedback — referencing the brief directly. Good designers welcome specific feedback tied to the original brief. If the brief was vague and the design went in a direction you did not expect, that is a briefing problem rather than a design problem. Be honest about this and use it as an opportunity to clarify and strengthen the brief for the next round.
Need help creating effective marketing materials for your Australian business? Talk to Ziff Digital — our graphic design team works from thorough briefs to deliver strategic, commercial design that hits the mark.